


20 Aug DIY installation: how to fit finger guards on various door types
As with any safety device, the effectiveness of our finger protection products relies largely on correct installation. Thankfully, our pinch protectors are super simple to install and even easier to maintain, meaning you can put finger safety and hand care first.
While our specialists are here to provide professional fitting, we do give you the freedom and support to install Fingersafe protectors yourself. With our products able to be fitted across 99% of today’s doors – apart from sliding doors – fitting for your specific door type is crucial to upholding the highest standards of finger safety throughout your property. Read on to discover how to fit our finger guards across the most common door types…
Before you begin
For fitting, be sure to gather the necessary tools. This includes a cordless drill or screwdriver, Stanley knife, scissors or tinsnips, Pozidriv bit, pencil, and the self-drilling screws provided. You should also assess the stability of the door and its hinges before installation. Here Entec Door Services shares the signs to look out for:
“If your door has become hard to open or close, it’s likely a sign of an issue with the hinges, alignment, or swelling caused by moisture. Over time, this can worsen, leading to damage to the door frame or increased energy loss due to poor insulation… Creaking, squeaking, or grinding sounds indicate problems with the hinges or tracks when a door is being used. Over time, dirt, rust, or loosened components can worsen these noises.”
Standard hinge opening side
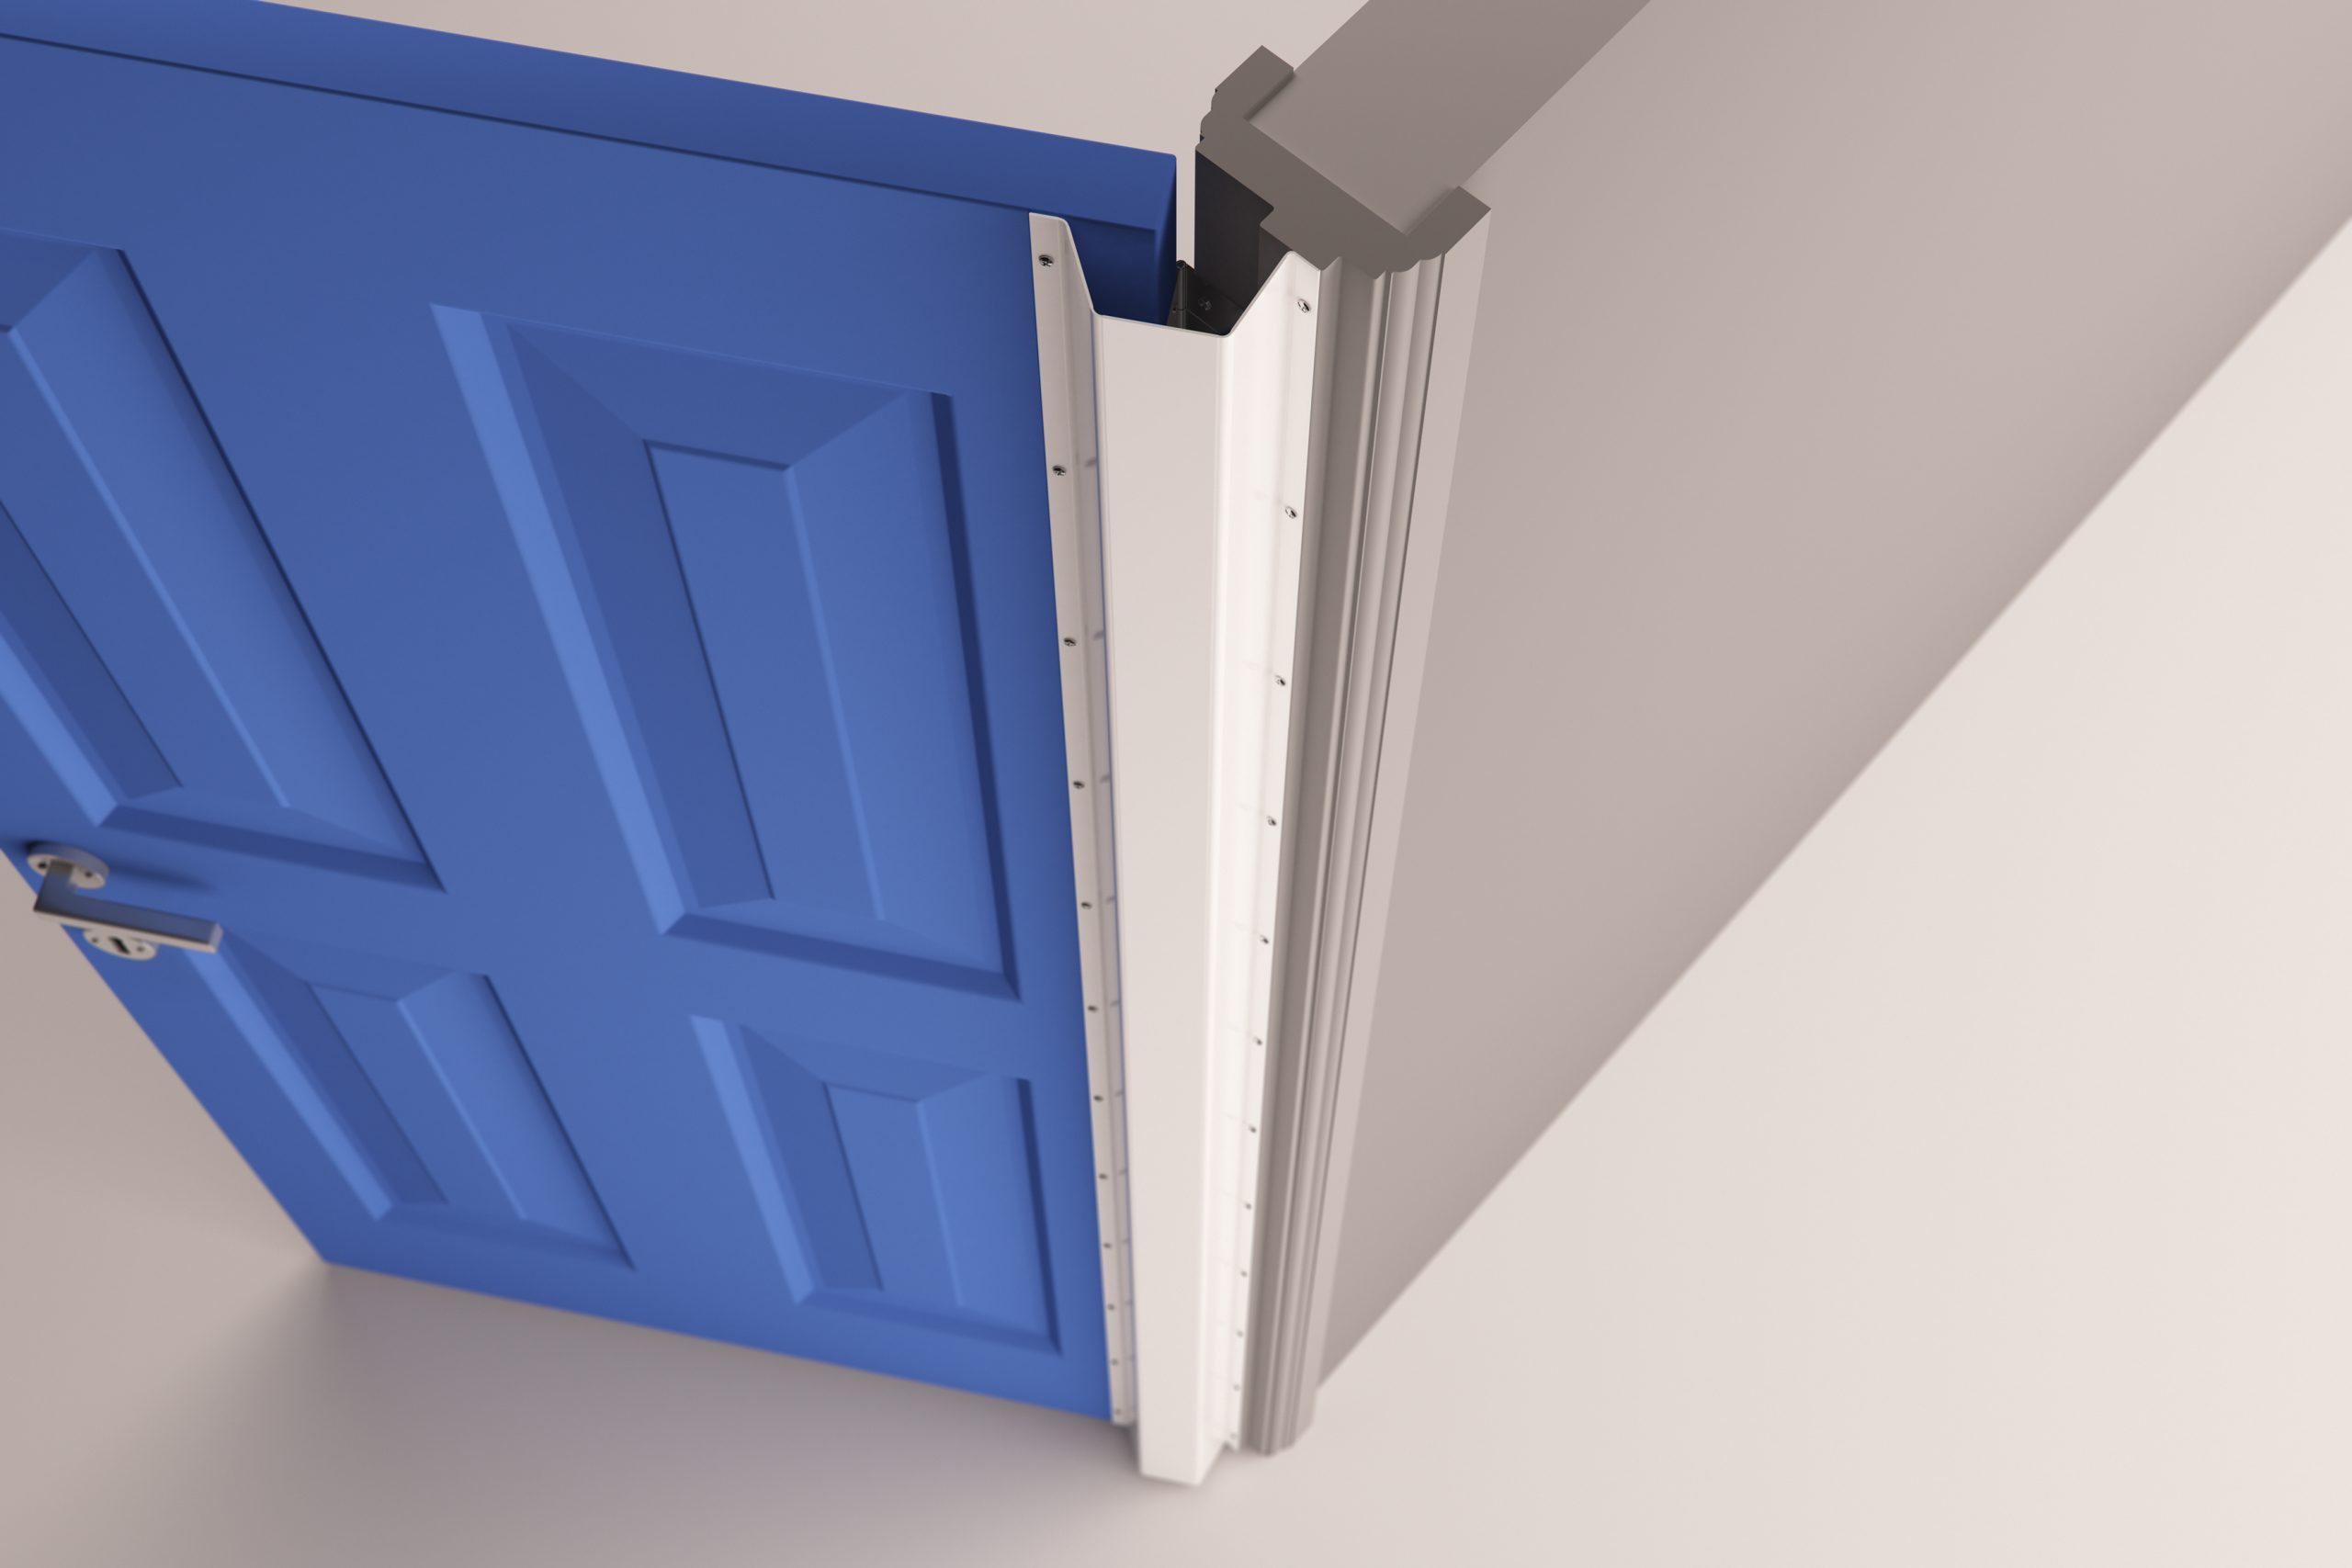
If you are the proud owner of our MK1A hinge protector, then you are one step away from enjoying a safety solution that counts on your standard hinge door. This pleated product is fitted on the hinge opening or push side, and is available in a variety of colours.
Close the door to commence the fitting process, bending the fixing strip into an L-shape to get started. Position in the corner of the frame and, working from the middle, insert the TEK screws on alternate sides across the length of the strip. Separate the strips at the corner using the Stanley knife and remove the spacer.
Next, open the door at a 90-degree angle, aligning the 1-inch side of the pleated panel with the frame side of the fixing strip. Snap into place from top to bottom before inserting the 3-inch panel into the door fixing strip. Fit the retaining screws on the door and frame side. On the door side, the three screws should be fitted into the clip and module, while on the frame, screws should be inserted through the module only.
Standard hinge pin side
For installation on the other side of the door, known as the hinge pin or pull side, measure its height first before cutting your MK1B product to size. This can now be installed in minutes!
Butt the L-shaped edge to the door side of the hinges, being sure to align it with the top and bottom of the door. Secure with the screws provided. This can then be rolled over the hinges and butt, and secured to the frame. Remove the protective film to finish.
Adjustments may need to be made to accommodate architrave frames, please see full instructions for guidance.
Bi-fold, flush-fit or uPVC doors
Our MK1C hinge protector has been specially developed for bi-fold, flush-fit or uPVC doors. The design builds on the success of the standard module, yet incorporates a new fixing strip to accommodate this wider door opening. The result? Full protection when closed, at 90 degrees open and at 180 degrees open.
Start by cutting the module to size and attach fixing strip A with the door open at a 90-degree angle. Clip the wide section into this fixing strip, working from the top before doing the same with fixing strip B and the narrow section of the module. Both sections of the pleated module should now be fully locked into position.
Now close the door to lay the fixing strip with the module against the door. Secure with screws, open and close to check operation, and finish by attaching extra screws to the top, middle and bottom of both sides of the unit.
Find full instructions for all door types
The door types mentioned above represent just a small selection of the designs we can make Fingersafe. Our products can be installed across (almost) any door type, including commercial aluminium framed doors and fire doors. Find full instructions and specifications for all door types here.

Sorry, the comment form is closed at this time.